MySQL Workbench Release Notes
To reverse-engineer a live database, click and then from the menu. The figure that follows shows an example of the Reverse Engineer Database wizard.
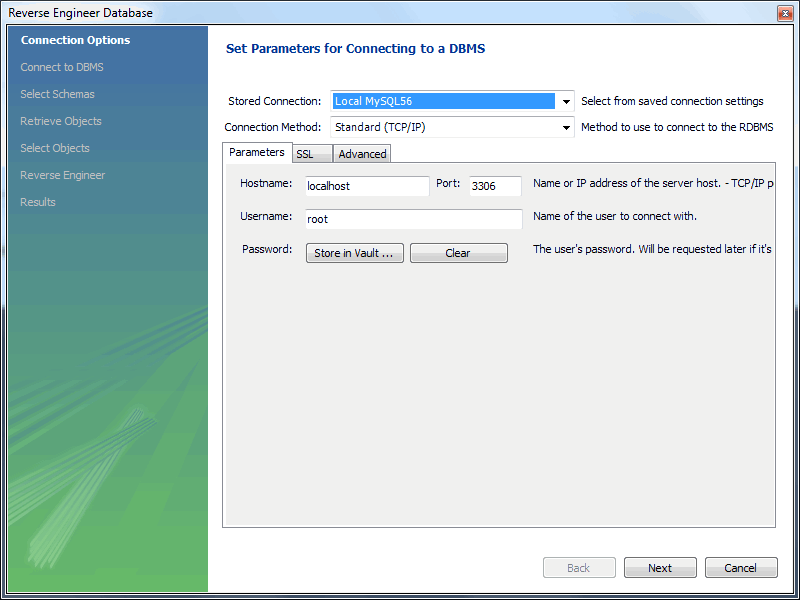
The first step of the wizard enables you to set up a connection to the live database you intend to reverse-engineer. You can set up a new connection or select a previously created stored connection. Typical information required for the connection includes host name, user name and password.
After this information has been entered, or you have selected a stored connection, click the button to proceed to the next step (shown in the figure that follows).
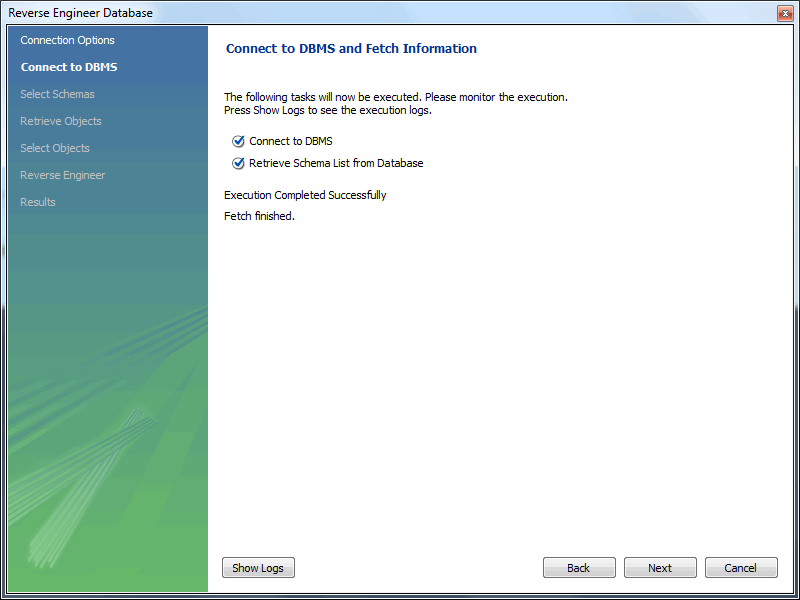
Review the displayed information to make sure that the connection did not generate errors, then click .
The next step displays the schemas available on the server. Select
the check box of each schemas you intend to process. In the
following figure, the world schema is selected.
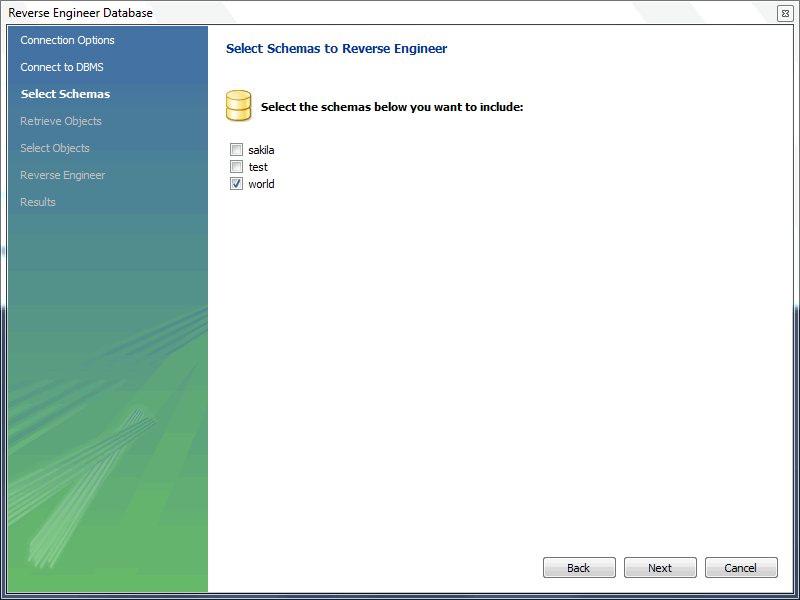
After you have selected the desired schemas, click the button to continue.
The wizard then displays the tasks it carried out and summarizes the results of the operation.
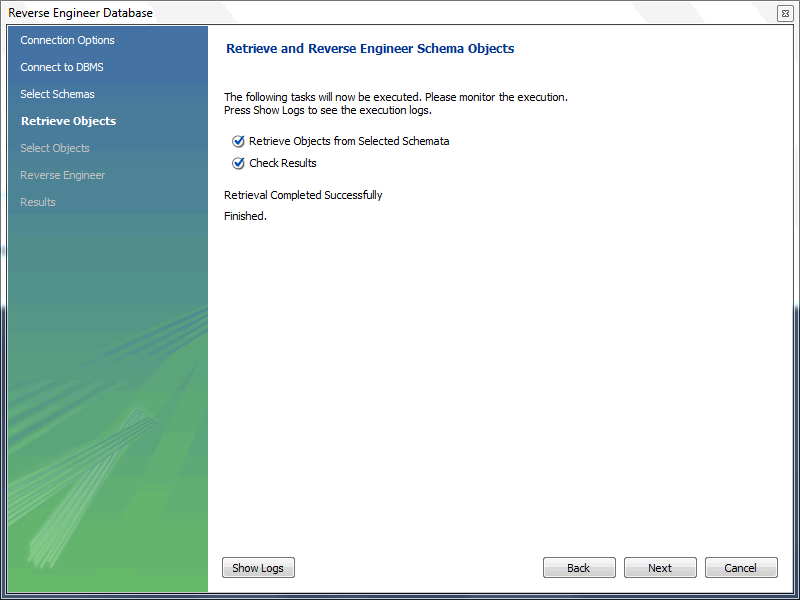
Review the results before clicking to continue.
The next step opens the Select Objects to Reverse Engineer page. It has a section for each object type present in the schema that you can import (tables, views, routines, and so forth). All object types are selected by default. The Place imported objects on a diagram option is also selected by default.
Note
Importing 250 or more objects could fail to create an EER diagram and instead emit a resource warning with the text "Too many objects are selected for auto placement. Select fewer elements to create the EER diagram." In this case, execute the reverse engineering wizard with this option disabled, manually create the EER diagram, and then import the 250+ objects using the EER diagram catalog viewer.
This step is of special interest if you do not intend to import all the objects from the existing database. It gives you the option of filtering which objects are imported. Each section has a button. Click this button if you do not want to import all the objects of a specific type. The following figure shows an example of the table object section with the filter open.
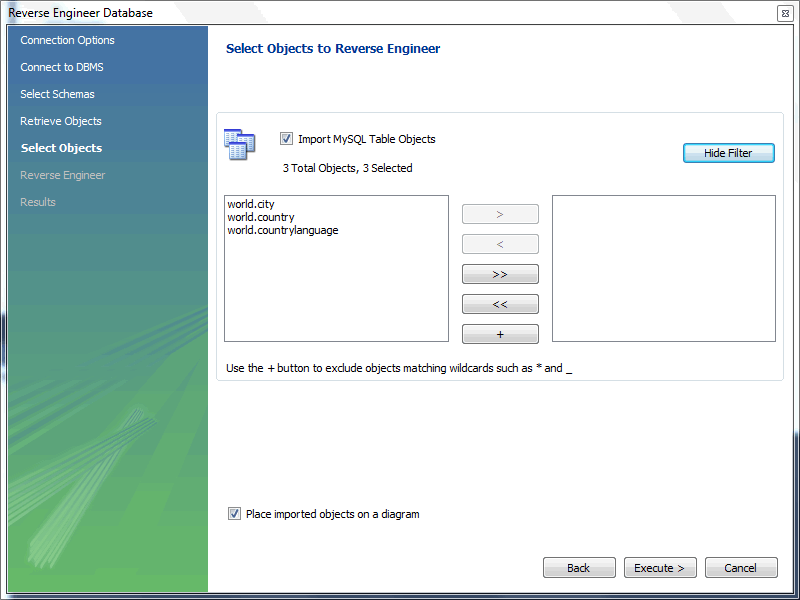
The options enable you to select specific tables for import. Having selected the desired tables, you can hide the filter by clicking .
The other sections, such as MySQL Routine Objects, have similar filters available.
Click to continue to the next step.
The wizard then imports objects, displaying the tasks that have been carried out and whether the operation was successful. If errors were generated, you can click to see the nature of the errors. The next figure shows an example of the operational progress, which completed successfully.
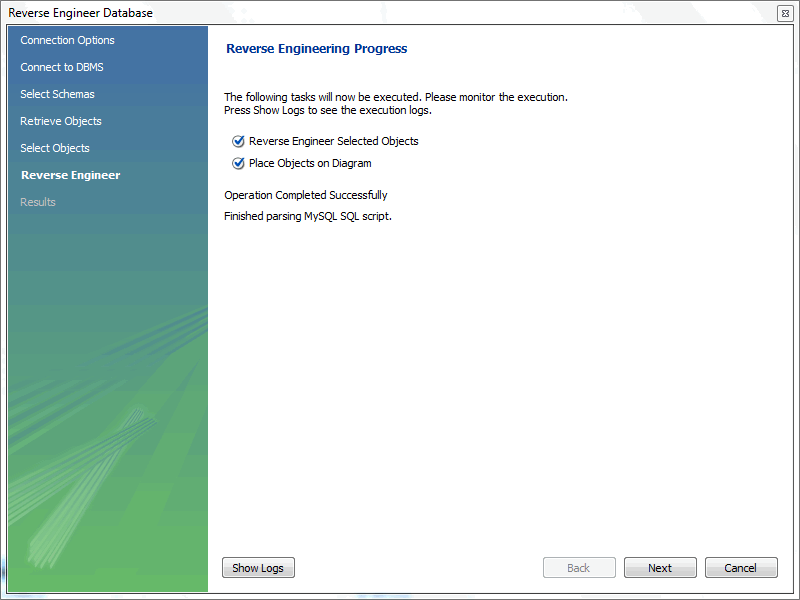
Click to continue to the next step.
The final step of the wizard provides a summary of the reverse-engineered objects, as the following figure shows.
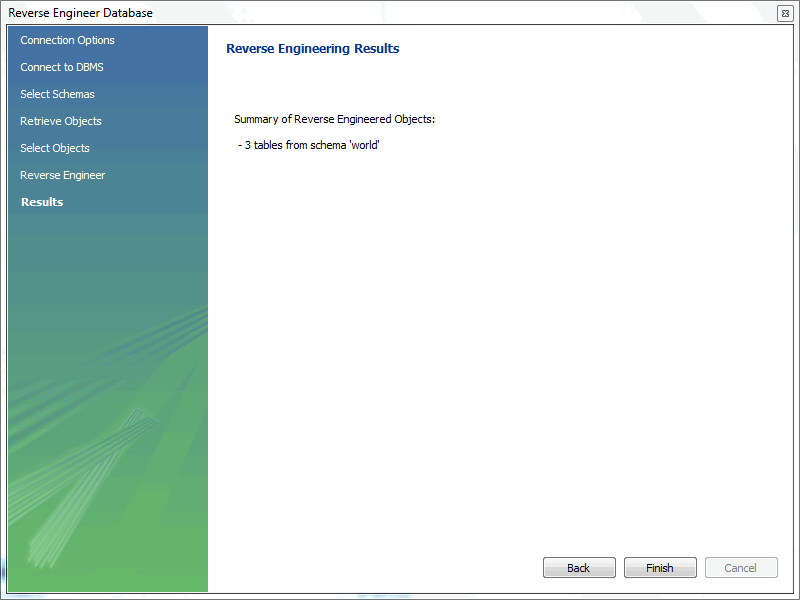
Click to close the wizard.
Before closing MySQL Workbench, save the schema. Click
and then
from the menu to save the reverse-engineered database as a
MySQL Workbench file with the .mwb extension.
During reverse engineering, the application checks for tables and views that duplicate existing names and disallows duplicate names if necessary. If you attempt to import an object that duplicates the name of an existing object you will be notified with an error message. To see any errors that have occurred during reverse engineering, click . This action will create a panel containing a list of messages, including any error messages than may have been generated. Click to close the panel.
If you plan to import an object with the same name as an existing object, rename the existing object before reverse engineering.
If you import objects from more than one schema, there will be a
tab in the Physical Schemas area of the
MySQL Model page for each schema imported.
You cannot reverse-engineer a live database that has the same name as an existing schema. To reuse a schema name, you must first rename the existing schema.