MySQL Connector/ODBC Release Notes
You can use Microsoft Word and Microsoft Excel to access information from a MySQL database using Connector/ODBC. Within Microsoft Word, this facility is most useful when importing data for mailmerge, or for tables and data to be included in reports. Within Microsoft Excel, you can execute queries on your MySQL server and import the data directly into an Excel Worksheet, presenting the data as a series of rows and columns.
With both applications, data is accessed and imported into the application using Microsoft Query, which lets you execute a query though an ODBC source. You use Microsoft Query to build the SQL statement to be executed, selecting the tables, fields, selection criteria and sort order. For example, to insert information from a table in the World test database into an Excel spreadsheet, using the DSN samples shown in Chapter 5, Configuring Connector/ODBC:
Create a new Worksheet.
From the
Datamenu, chooseImport External Data, and then selectNew Database Query.-
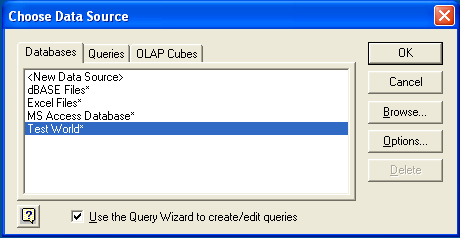
Microsoft Query will start. First, you need to choose the data source, by selecting an existing Data Source Name.
-
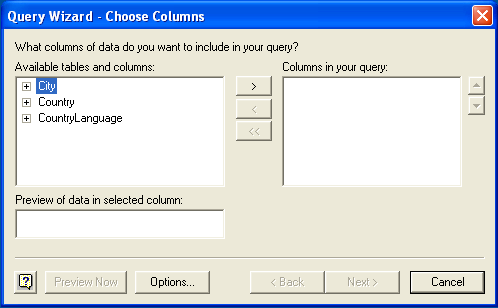
Within the
Query Wizard, choose the columns to import. The list of tables available to the user configured through the DSN is shown on the left, the columns that will be added to your query are shown on the right. The columns you choose are equivalent to those in the first section of aSELECTquery. Click to continue.
-
You can filter rows from the query (the equivalent of a
WHEREclause) using theFilter Datadialog. Click to continue.
-
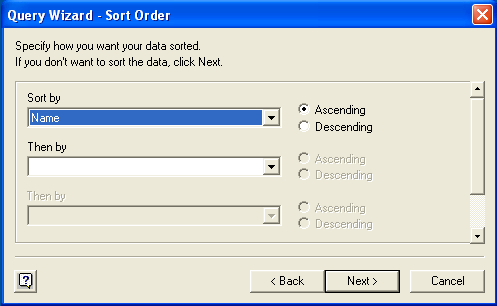
Select an (optional) sort order for the data. This is equivalent to using a
ORDER BYclause in your SQL query. You can select up to three fields for sorting the information returned by the query. Click to continue.
-
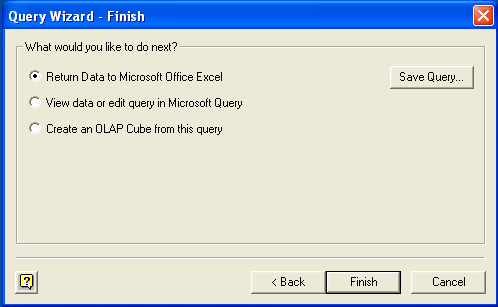
Select the destination for your query. You can select to return the data Microsoft Excel, where you can choose a worksheet and cell where the data will be inserted; you can continue to view the query and results within Microsoft Query, where you can edit the SQL query and further filter and sort the information returned; or you can create an OLAP Cube from the query, which can then be used directly within Microsoft Excel. Click .

The same process can be used to import data into a Word document, where the data will be inserted as a table. This can be used for mail merge purposes (where the field data is read from a Word table), or where you want to include data and reports within a report or other document.